 for Web
for Web
for Web
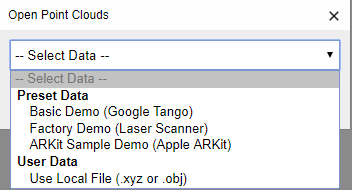
 button on Top Menu.
Select Point Cloud Data you want.
To manipulate the view, click one of the menu buttons listed below and follow the instructions below. See here for more details and here for alternative ways.
 |
No actions. |
 |
Drag your mouse cursor to rotate the view (the rotation axis is always at the center of point cloud data). |
 |
Drag your mouse cursor horizontally or use your mouse wheel (except in the case of using IE browsers) to zoom in/out. |
 |
Drag your mouse cursor to move the view. |
You can also reset the view by clicking one of the menu buttons below.
 |
Reset the camera view to the top view |
 |
Reset the camera view to the front view |
 |
Reset the camera view to the side view |
Since the camera depicts the scene by using orthographic projection, all points and geometries are drawn in the same scale without considering perspective. You may enable a depth map of the scene to make objects and points in the distance darker.
Click  button to enable the depth map feature.
You can skip this section if you loaded one of the preset data that our server provides. The parameters are automatically set to appropriate values. Before running the FindSurface Algorithm, you have to set the algorithm parameters.
Click  button on top menu.
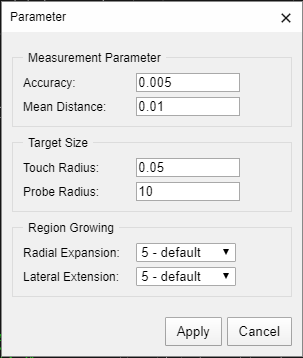
After adjusting the parameter values, then click [ Apply ] button.
| Accuracy | Point measurement accuracy |
| Mean Distance | Mean distance between neighboring points |
| Touch Radius | Radius of seed region (also, it means minimum target object size) | Probe Radius | Point picking sensitivity (radius in pixels) |
| Radial Expansion | Level of segmentation referenced to the direction of surface normal |
| Lateral Extension | Level of region growing in lateral direction (for plane, cylinder, cone) |
Note: Parameter values are dependent on a measurement unit of point cloud data. For example, if a measurement unit is meter and measurement accuracy is less than 5 mm, an appropriate value of Accuracy may be 0.005. If a measurement unit is millimeter and measurement accuracy is less than 3 mm, an appropriate value of Accuracy may be 3.
Note: The group 'Measurement Parameter' represents the two main conditions of point measurement: the accuracy and the density of point cloud. Holes in object surfaces increase the mean distance.
Note: The 'Touch Radius' is to be set proportional to the size/scale (i.e., radius, length or width) of the object surface to be extracted. 1/4 ~ 1/2 of the radius/length/width of the target object surface works well. If the point measurement is accurate, also a relatively small touch radius works well, and vice versa.
Note: Probe radius affects only point picking. For example, if the radius is set to 4, the topmost (in z-order) point among the points having max 4 pixel screen distance from the mouse cursor will be selected. To select precisely a point you should set the probe radius to a small value. To prevent an unintended selection of a point in background, you should set the probe radius to a large value.
Note: The group 'Region Growing' controls the activity of the two orthogonal directional searching for inlier point candidates. The 'Radial Expansion' should be set small for noisy points. A small value suppresses the measurement noise. A large value accepts also noisy points as inlier candidates. The 'Lateral Extension' should be set proportional to the length/width of object surface. A small value shortens the length/width of object surface, and vice versa.
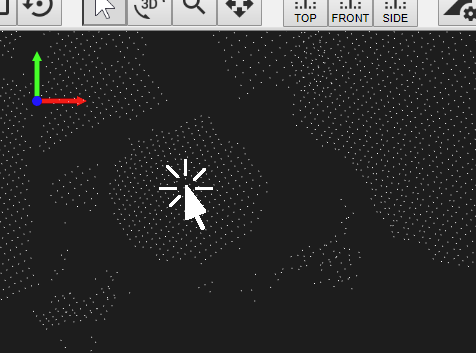
Click the button of surface types to find on Top Menu.


Click the ROI ( Region of Interest ) point on screen.
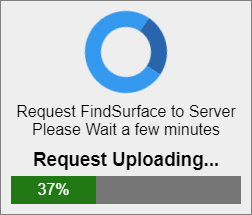
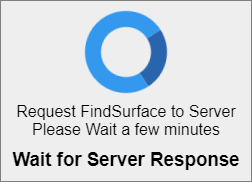
Wait for the server response.
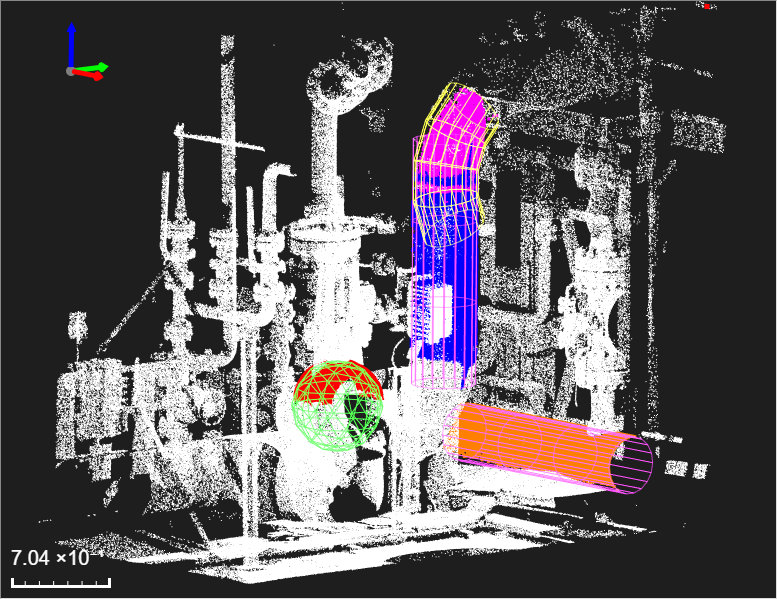
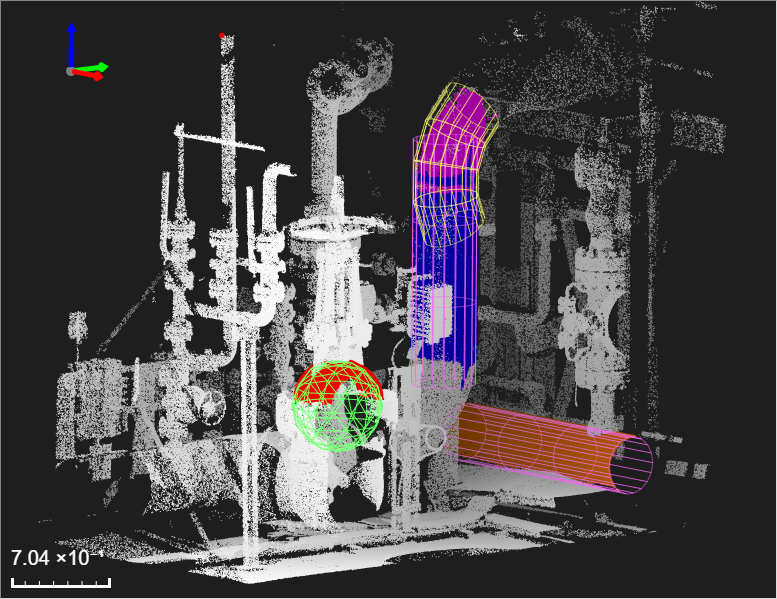
If FindSurface succeeds, you can see the mesh and inliers points on screen as a result.
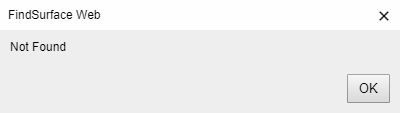
Otherwise, [ Not Found ] dialog will pop up.